整合是一门学问,在于你想用什么技术改变生活
maven分模块搭建SSM框架
- 前期的准备
- 步骤分解整合SSM以及注意事项
- 整合mybatis分页插件 (详见核心代码)
- 整合mybatis事务 (详见注意事项)
前期的准备
说明:一个项目分为前台:如考勤,审批.而后台数据库交互模块(dao).通用业务模块(service) 接口模块(api)通用工具(util),dao、service、util你可能想要一些经验丰富的人来维护,模块化开发的另一个好处是如果dao的代码被修改,只需要重新build我们的dao模块就可以了。web模块可以build成war,dao、service、util等可以build成jar,只需要配置好依赖关系,就可以实现模块间的解耦合。这样的设计才是遵循“高内聚,低耦合”设计原则.
步骤分解整合SSM(配置方式很多,活学活用)
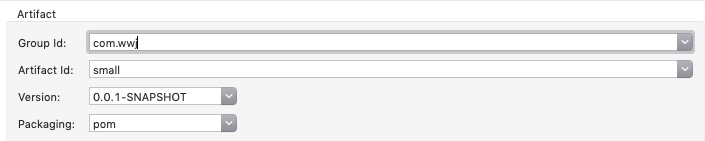
构建父级项目方式为(构建方式为pom) 名字为small
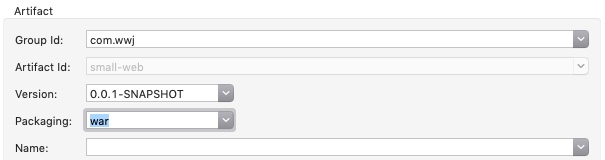
父级项目右键构建3个moudle,分别small-web small-service small-dao 其中web打包方式为war 其余的均为jar
small-web:
small-service:

small-dao:同理
pom.xml详见
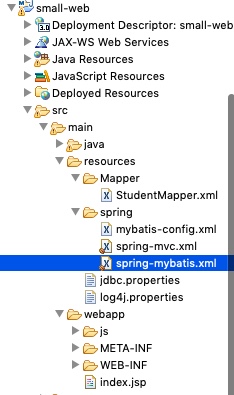
配置文件结构(配置文件主要在small-web中)
整合mybatis分页插件(详见核心代码)
通过mybatis分页插件可以不用在mapper映射中使用limit语句,使用插件提供的PageHelper和PageInfo对象
1 | @RequestMapping("/select1") |
整合mybatis事务 (详见注意事项)
使用 @Transactional 注解在服务的实现类中
其余操作详见github链接代码
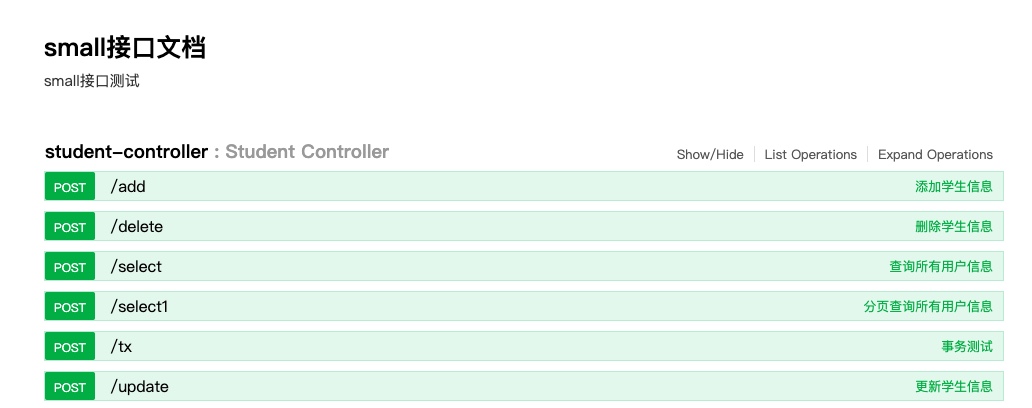
整合swaager文档生成
- 相关依赖 (在small-web中)
1 | <springfox-swagger2>2.7.0</springfox-swagger2> |
- 构建swagger初始化配置 构建一个新报 com.wwj.swagger
1 | package com.wwj.swagger; |
- 在spring-mvc中注入对象和过滤对象
1 | <!--启用该标签代表 spring mvc 不拦截css、js、jpg等相关的静态资源--> |
- 下载swaggerUI界面 讲dist文件摆放到项目中api文件夹下
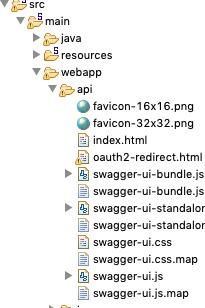
更改index.html中地址为自己的项目名+api+api-docs
url: "http://localhost:8080/small-web/api/api-docs"
- 方法和参数上使用
1 | @ApiOperation(value="删除学生信息",httpMethod="POST") |
图示如下: